Tuesday, November 22, 2011

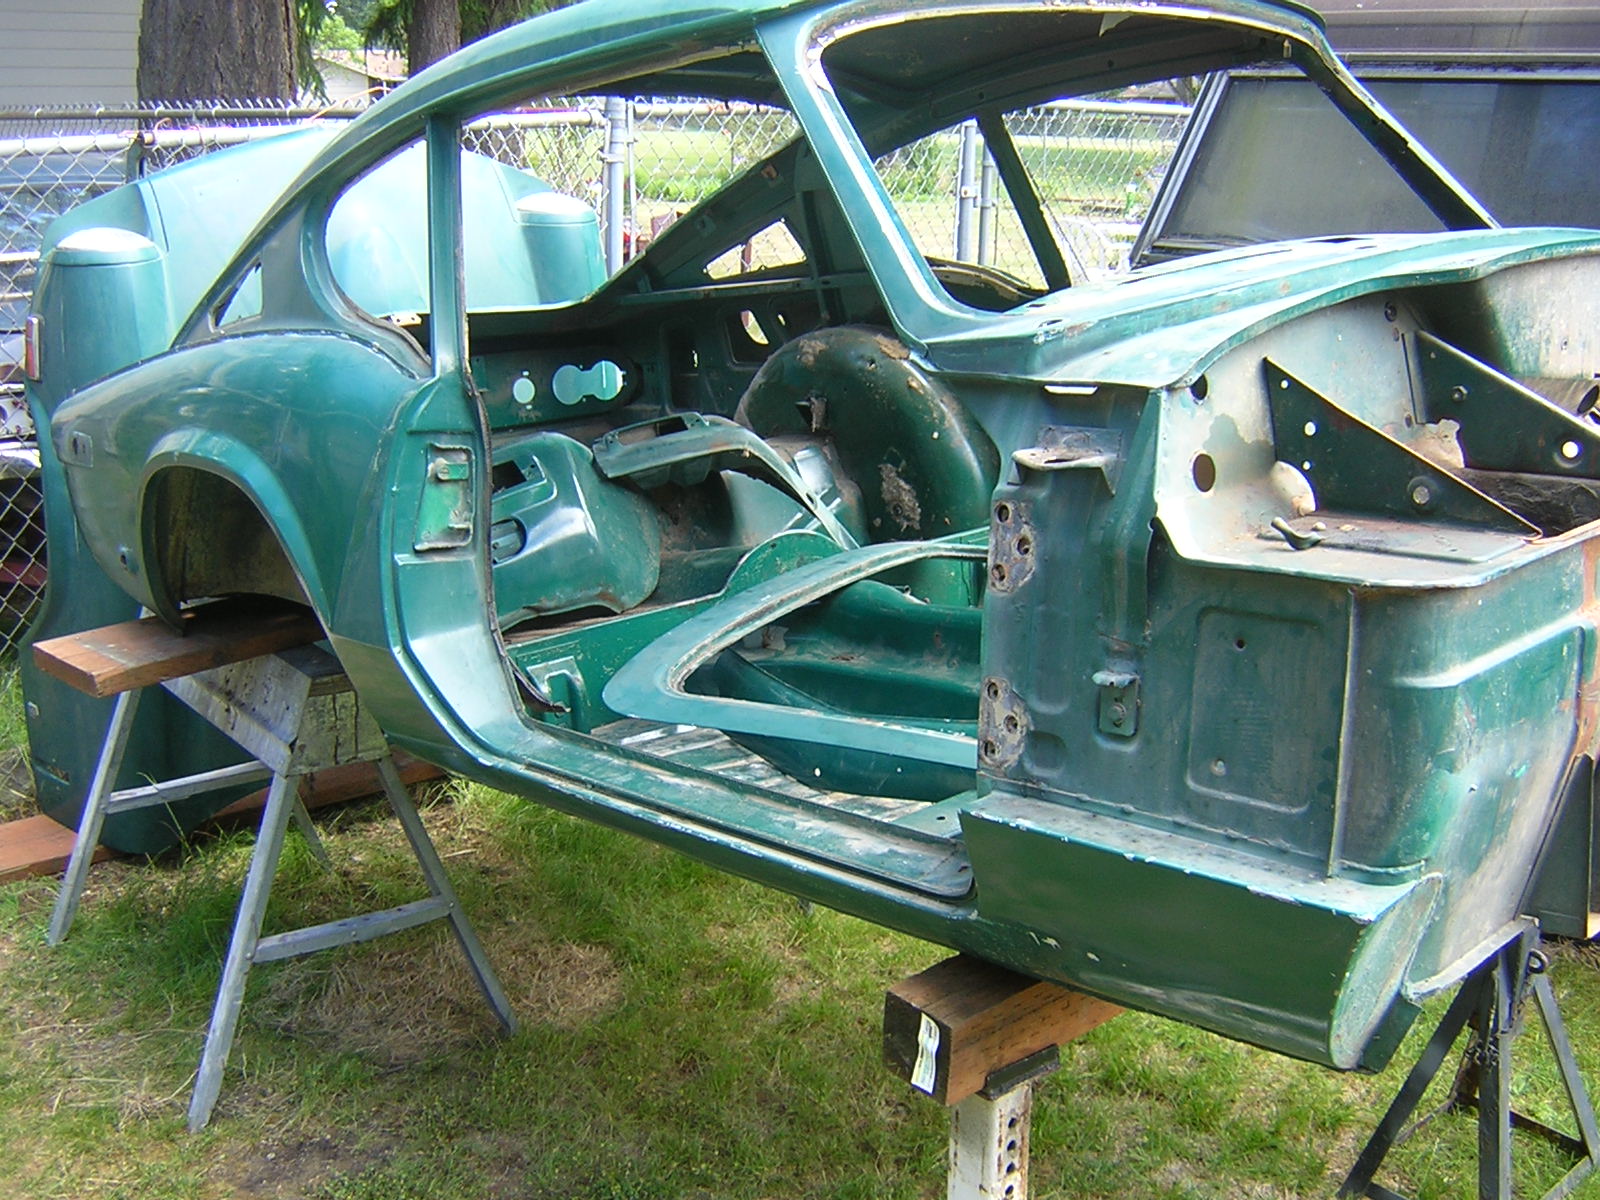
Ok.  Time for an update on the TR6.  I know dad's getting antsy so in order to squash an uprising here are more photos and stuff.

The interior is complete now.  All that remains is securing a few pieces of carpet and done.  I kept the driver's side carpet out for now so I don't get it too messy during my test drives.  Below is the rear area.  It's not really a seat, but if you had to you could throw a dog or small kid back there.  There aren't any seat belts so...  I don't think you could even fit your golf clubs back there.  With the top down however, that's another story.


New door panels.  They do look spiffy.


Seats are now in place.  And with the seats in place, the cab got a lot smaller!  I was thinking it wasn't that bad working in there when the seats weren't in yet, but now that they are it's pretty tight moving around.


Looking good!


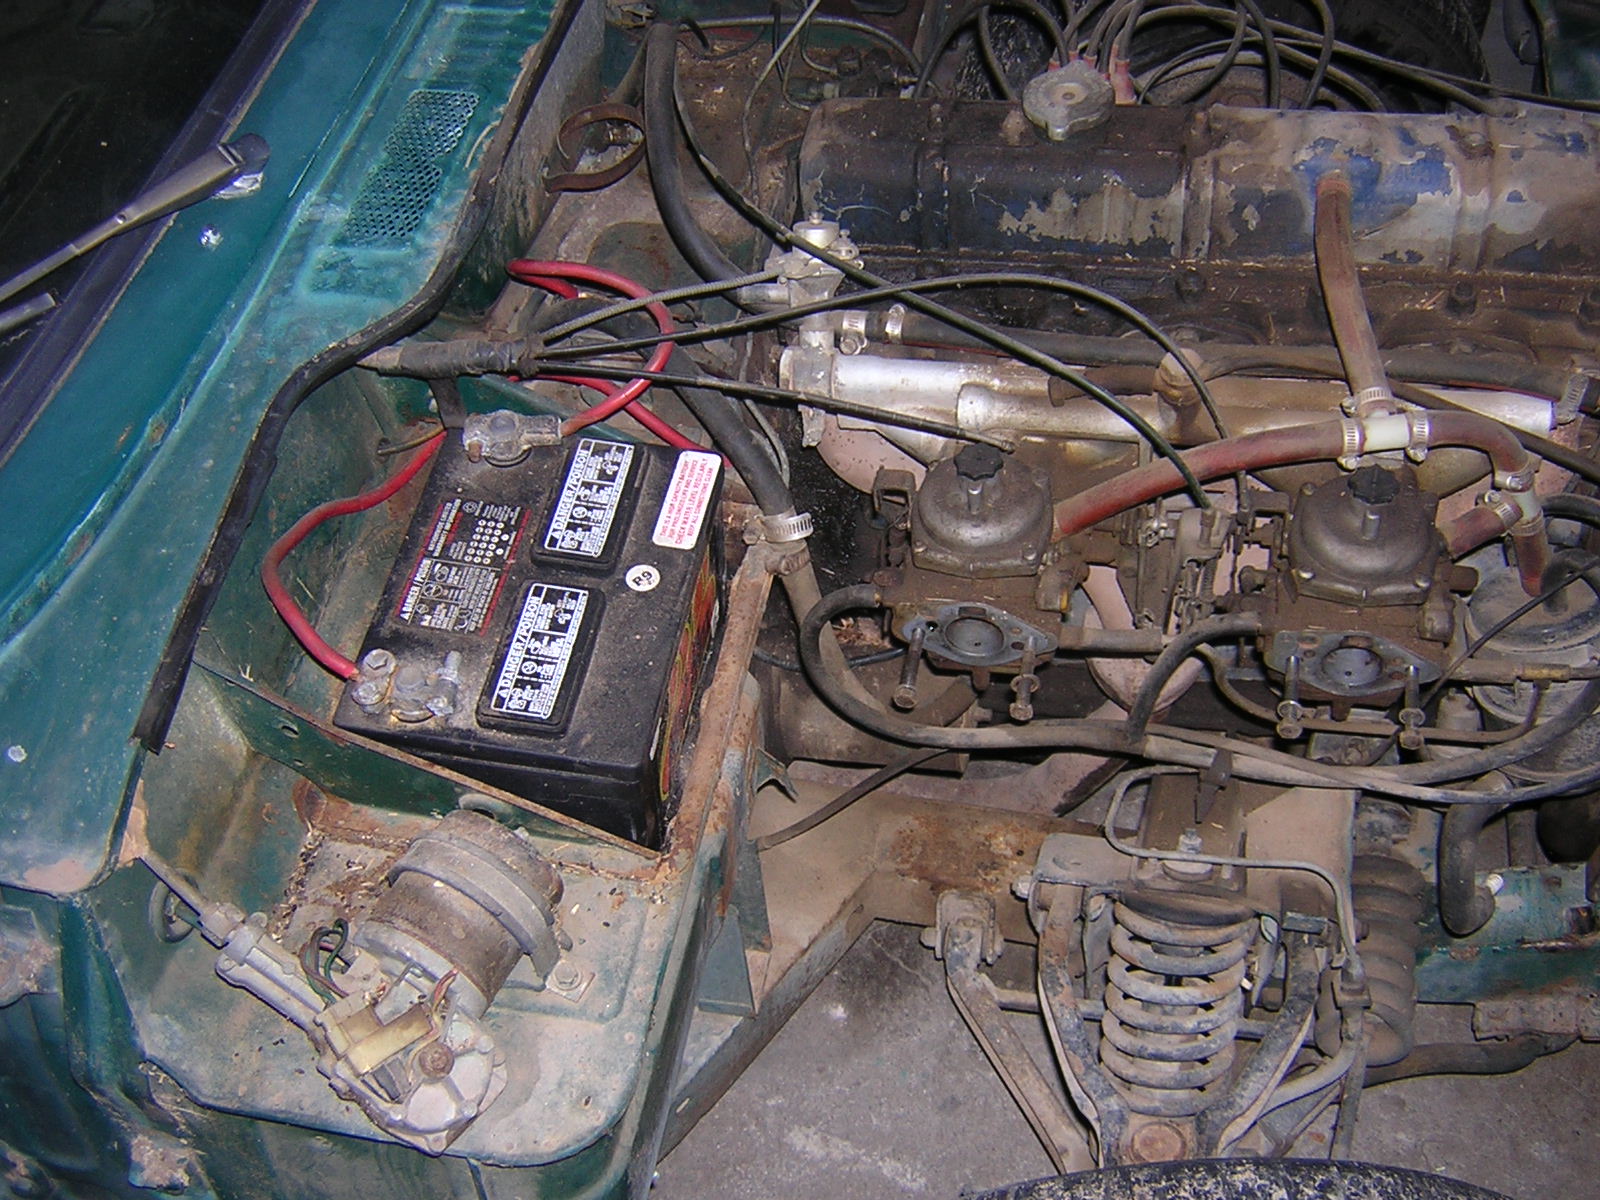
With the interior coming together I was getting anxious to drive this thing.  Obviously I couldn't until I got at least the driver's seat in.  But now that it's in there's nothing stopping me except for Lakewood's finest (it's not registered).  So I started working on fine tuning the engine.  It starts and runs, fairly well actually for not being started for over 10 years.  But there was a pesky fuel leak I just couldn't figure out.  I changed all the fuel hoses and the o-rings that were in the vicinity of the leak but nothing fixed it.  So for about the 5th time I pulled the carburetors off the car to take a look.  I flipped one of them over and saw something I missed before...


A crack!  This is on the very bottom of the carb on the float bowl.  Do you know how hard it would be to find a spare float bowl on 35+ year old Triumph Stromberg carbs?  Very hard.  So I started to weigh my options.  I could weld it somehow.  It's aluminum so it would be tricky to find someone that could do it.  But I didn't know if it would seal correctly or interfere with the float mechanism.  Then I had an idea.  I ran out to my side yard to my parts car I bought for the GT6.  I took a look at the carbs on that car to see if they were the same.  They weren't.  Same brand, but different size carbs.  But the float bowls were the same size!  So i cleaned it up and Ta-Dah!  good as new.  No more fuel leak.

Below you can see how bad the crack was.  Don't ask me how it happened.  My guess is they were dropped or something.

During my test drives of the car I noticed the rear suspension felt pretty rough.  I pulled it back into the garage to see what was up.  Below you can see the rear suspension setup.  The spring on the right is the stock spring.  The shock on the left is an upgrade from the factory shocks.  But in order to install the upgrade 3 brackets needed to be installed on the car.  Dad had a mechanic buddy install these for him.  (We won't mention any names).  The ride was stiff because the shocks were compressed all the way and were bottomed out.  There was no give whatsoever.  


I started doing some research and discovered that they were installed wrong.  One of the brackets needed to go inside the trunk.  In order to do that I had to remove the gas tank.  Below is a picture of the trunk with the gas tank removed and you can see one of the brackets on the left.


Below is the correct installation for these shocks.  Scroll up and look where the top of the shock was before and look where it is now.  The bracket is bolted through the wall of the truck where before it was below the floor of the trunk.  This gives the shock about 6 more inches of travel before it is fully collapsed and now it doesn't bottom out.  And as you can see I've stiffened up the rear suspension even more by installing new rear springs.  It's a fine ride now! 


Here's another picture of the brackets installed in the trunk. 


Good times!  I just placed my last order of parts which should be here soon after Thanksgiving and I should be don with most everything soon!

Wednesday, October 12, 2011

TR6 Progress

Work continues on the TR6.  When I last posted I had the sound and heat insulation down on the entire floor and was ready to start carpeting.  As you can see below I've got the center console in and the carpet over the transmission tunnel.  That center console piece that fits over the transmission tunnel and has the gear shifter sticking up out if it was harder to install than the rear bumper.  It's an odd shaped piece that wouldn't fit where it needed to be because of the added bulk of the new carpet, insulation pad, and sound insulation.  I had to buy a 3' threaded rod, cut it into 4 pieces, thread those pieces through the mounting holes in the console piece and into the floor.  Then  I had to slowly thread nuts onto those long threaded rods to slowly and evenly force the console piece down over the new carpet and pads and into place.  It was a long and frustrating job.  But it's in now and hopefully doesn't have to come back out.
 When I left Heber with the car I didn't realize I didn't have any gauges.  When it came time to put the dash together I was worried because buying new gauges would have been expensive.  I called mom and dad and had them scour the shed to see if they could find the gauges.  Luckily they did.  And here they are in the new dash!
The new dash is a solid piece of wood and is going to look great installed. 
 While waiting for some interior pieces I got to work on some of the exterior jobs that needed to be completed.  I installed the luggage rack and tail lights.

 Then installed the dash.  The electrical wasn't as bad as I thought.  I was able to download a color wiring schematic from the internet, and to make sure it was durable and would last for the rest of the project, I had Lindsay go out and laminate it for me.  There's still a lot of wiring to be done.
But it's looking pretty good. 

When I got the car home, one of the first things I did was check the engine to see what it needed.  There are certain systems that need to function properly to get a car to run.  I ran through that list in my head and discovered that there was a missing fuel line, there was no coolant in the system, the clutch wasn't installed, and there was no battery.  So one day while again waiting for parts to arrive, I started to fix a few of the things on the engine.  I installed the clutch and bled the system, bought a battery and connected the electrical system, bought antifreeze and tightened up the cooling system, bought and installed a new fuel line to complete the fuel system, and filled it with oil.  Then I realized there wasn't anything stopping me from trying to start the car, so I did.  And wouldn't you know it, it practically started right up!  I was so excited.  
 The only problem is while it was running there was fuel spitting EVERYWHERE!  The fuel pump was leaking, 3 fuel hoses were cracked and leaking, and both carbs had leaks in them.  So all that has to be fixed now.  But I know it runs.
 A huge box of interior parts arrived on Monday!  I now have everything I need to finish up the interior!  Stay tuned.

Wednesday, September 7, 2011

What's Behind Door #1? A New Car!!!

So dad talked me into finishing his TR6.  It's just something that needs to be done.  I remember driving this thing up to Provo from Delta to get it worked on and painted.  That was before we moved to Heber City.  Mom informed us this past month that they have now lived in Heber for as long as we lived in Delta.  So this car has been unfinished for 15 years or so.  Now dad has owned my GT6 for a longer period of time that this TR6, but he hadn't done anything to the GT6, but he had started this project.  So it's up to me to finish.
 There are only minor things to do on the engine before I can get it running.  It needs a fuel line, the clutch slave cylinder installed and plumbed, and the electrical hooked up with a new battery.  As far as I can tell, that's all it needs to get running.  But all the exterior trim and signals need to be installed, the interior is non-existent, and the dash is a mess.  So in my opinion, this shouldn't take long. 
Here's a pic of the interior.  I've removed the soft top and vacuumed out the floor to get all the hay and spiders out.   

 As you can see, the dash is a mess, but I'm going to go ahead and thank whoever took it apart because you can see the masking tape labels they made to mark the bulbs and wires and what they go to.  That's going to make it nice.
 The cockpit is so small the interior is going to go in piece of cake.  Plus it will be nice not having a roof to bump my head on and stuff.
 Here the front bumper is on and the front turn signals and indicators are installed.  I'm going to put off installing the grill for a while because it's nice to have it off to work on the front part of the engine.  I don't have to lift the hood, just reach in.
 It's a little cramped in my 1 car garage, but I've purchased some wheel dollies that go under each wheel.  Now I can push the car forwards or backwards or even sideways to make room around the part of the car I'm working on.  Then during down times I can push it against the wall to make room to walk by.
 I've placed the transmission tunnels in place.  The white and brown pieces cover the transmission and drive line.  I've also started placing sound and heat insulation on the floor.  This will help quite the road noise and make it a sweet ride.  And because the engine and transmission are just under that brown fiberglass cover there is a lot of heat that could transfer into the cockpit and make your feet nice and sweaty.  This insulation will help with that because there is no room for A/C in a car this size.

 Here's the same area.  I've got the floor all insulated with the heat foil and the carpet kit came with a pad/insulation layer that I'm putting down before carpet.  So the transmission covers have a layer of foil insulation as well as the pad that came with the carpet kit.  So there will be another layer of carpet over the top of what you see here.
 The rear bumper installed.  Mom told me it took dad all day to install this himself.  I scoffed a little.  Then when I got it up here to Washington and started doing a piece inventory, I realized he had left off the rubber bumpers and had to take the bumper back off.  Then I realized why it had taken dad all day to install it.  What a pain!  Even after seeing how it was installed and taking it off, it took me another 3 hours to install it again.  
So here's the car as it sits today.  Bumpers are on, I've set the hood so it's aligned and the hood latch and supports are functioning and installed.  And I've started on the interior.  The carpet you see over the transmission covers is the final carpet, but it's just set there for fitting purposes.  

One of my new favorite shows is the British version of Top Gear.  These are the guys that know anything about everything when it comes to cars.  James May had the opportunity of testing out the TR6 and the video below is what he had to say about it.  Now they are British, so if you watch it and don't know what they're saying you may have to ask Kev to be your translator.  So pause the music at the bottom of the page and enjoy.


Transport

It's time to start thinking about painting my car now so I thought I'd go around to some different body shops and see what it would cost to get it painted.  So I enlisted Bry to help me get the body out of his little shed on the side of his garage and load it in the truck.  That's right, load the car into the truck.  I got quite a few good looks when I was driving all around Tacoma and Lakewood with this setup.  


 We were able to put boards up on the sides of the bed for the main part of the body to rest on and the hood, doors and other trim pieces went underneath.  It actually worked out pretty good and with a few straps it hauled well.

 Unfortunately everybody was pretty expensive.  The quotes ranged from over $10,000 on the high end and Maaco said they'd start at $2,000 but it would probably go up from there if there was any bodywork to do; and I believe there is going to be some body work.  I can see some spots on the rear that need help.

So, painting this car is going to be put on hold until I can sell the Audi.  It's now back at my house up on stands.  Lindz helped me unload it from the truck.  It went pretty smooth.  We just backed it up to the fence, put the rear on the stands and pulled forward until the whole thing was off the truck.  


Saturday, May 7, 2011

We Drove a GT6!

There was a 1972 GT6+ (Mk II) for sale an hour from our place so I thought it would be fun to go take a look at it and see what it was like.  From the pictures on the internet it looked like the same color as dad's old car so I also wanted to take a look at the color to see if it looks good.  The ad said it had a bad transmission but it was driveable.  So we went up to take a look.  


Honestly, a little disappointing.  Even though it runs and we were able to drive it, it would take almost as much work as the car I have now to get it in good shape.  The interior was bad, the brakes were horrible, there were dents and dings and when I looked in the trunk I saw rust spots through the floor.  He was asking $3500 for it ad that was WAY too much.  So it gives me confidence that what I'm going to have when I'm done is going to be one sweet ride.  Plus it was so much fun to hop in and go for a ride.  It's going to be fun.

Tuesday, March 22, 2011

Before and After

I'm going to shut up and show you some Before and After pics today, so enjoy!  (Enjoy the pictures, not my silence!)

Radiator and cooling components BEFORE

AFTER


Carburetors BEFORE


AFTER

Engine - Passenger's Side BEFORE


AFTER


The left carb has been cleaned like the right one, but it's not on the car yet.  I ran out of time.  

And more pictures for your enjoyment.