So now that we live here in Utah and I see more of you more often, I forget that you still don't get to see the car and the progress I'm making. And I need to make sure I keep Bry and his family in the loop. So I keep putting of updating this thing. So here it goes.
Last time I posted I had just got the car started. Below is a video from that night. Make sure you notice the sweet gas can at the back of the car. I didn't have any gas in the tank, the fuel pump was sucking it right out of the gas can.
With the engine running and most of the work on the front of the car complete I felt like I could put the hood on. Now it really looks like a car.

I was so excited. Progress was being made and it was time to wrap up the interior. I had one of Larry's friends come and do the headliner for me. Man, I was so excited when I saw what he had done.

I never could have ended up with these results doing it myself.

He came to the shop where the car is, he was fast and efficient. Thanks Larry for suggesting Dave.

The interior at this point was coming together and almost done.

I was able to install the arch panels that go around the wheel wells and cover the wiring and body.

I think it looks pretty good.

All black interior. Kinda cool. The original car had an off-white headliner with everything else black. I'm glad I put a black headliner in.

With the headliner in, I could install window seals and door seals. Here's the wing window seal in place.

Now I need some opinions. There is a strip of trim that goes along the rear fender. In the picture below I have a chrome piece on. (It's the skinny long piece, not the triangle vent piece). I can't decide if I want those chrome or black. I think I'm leaning towards black, but would welcome comments or suggestions.

A close up of the chrome trim.

And here's the black.

Close up of the black.

So if you have an opinion, please voice it. Another view of the black.

And chrome.

One problem with these cars is the way the hood opens. The latches are on the sides of the car and when you open it, you can only lift on one side. This twists the hood and puts strain on the hinges and hood itself. So I installed some gas struts to assist in the opening and to give it some even pressure on both sides of the hood. Plus they keep the hood open by themselves so when I'm working on the engine I don't have to worry about it falling on me (it's already happened once).

It's pretty sweet. When lifting, I get it to a certain point and the gas struts take over and open it all the way. One of the best modifications I've done so far.

I had a water leak coming out of my intake manifold and one of the aluminum pieces that directed water flow through the engine broke. So I had to get creative on how I fixed it. It's hard to explain via pictures, but it has to do with everything that's connected to the red hoses.
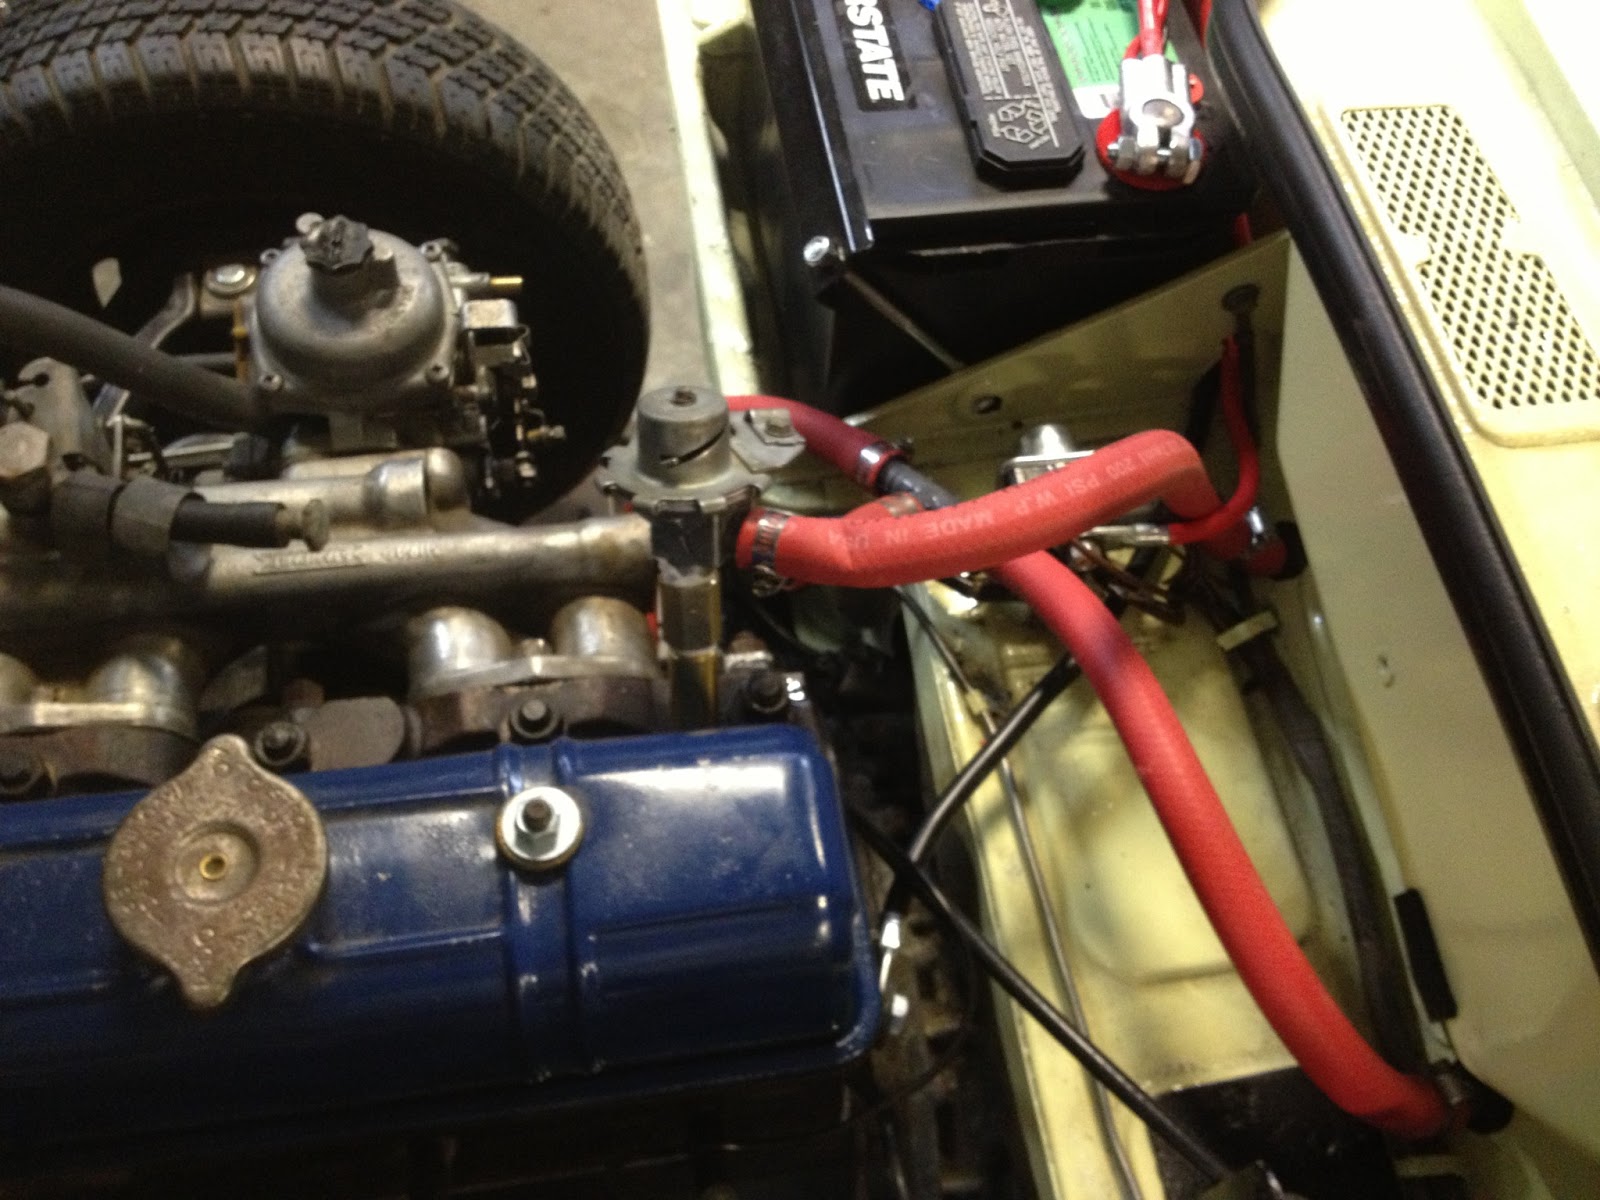
A quick trip to Lowes to get hardware and hoses and it's back to working order.

Then it came time to install the windshield. Lindsay and I got excited and pumped up ready to give it a go. I had purchased a new windshield and gasket and we were ready to put it on. Unfortunately, we tried and tried and tried and couldn't get it to work. So I started calling around windshield shops to see if anybody would be willing to install it for me. The only people that would install it wanted our first born as payment so I decided we needed to do it ourselves.
Then Larry and his co-worker Walt stepped in to take a look. Lindsay and I were installing the gasket wrong! We were putting the side that is supposed to go on the glass on the frame. As soon as I was told we were doing it wrong I went back to the shop and had it in in under an hour. So now the windshield is in!

Sweet.

And with the windshield in, the rear view mirror went in.

Then the sun visors.

And here's where she sits as of last night.

So there's your update. I know it's nothing new to some of you, but worlds of difference to others.